How to download everything you've posted on Facebook

Facebook lets you download everything you've posted and everything the company knows about you. This download includes all pictures and videos you posted, wall posts, chat messages, event information, apps you downloaded, contact info, ad information, and more.
How to download your Facebook data
To download all your Facebook data, follow the steps below.
You must know your Facebook password to use this feature.
- Log in to your Facebook account on a computer.
- In the top-right corner of the Facebook homepage, click the down arrow
 and select Settings & Privacy.
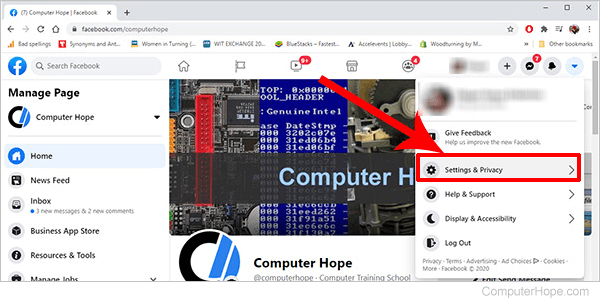
- Select Settings.

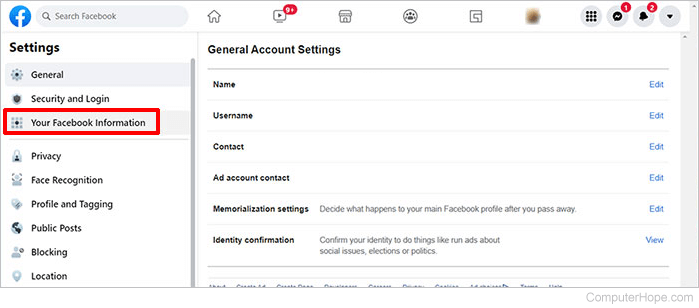
- On the left side of your screen, click Your Facebook Information.
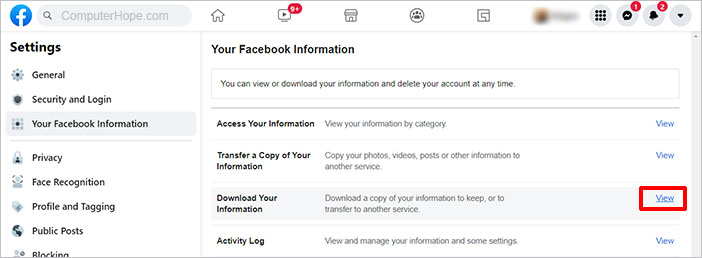
- Click the View link in the Download Your Information section.
- If not already highlighted, click Request a download at the top of the screen.

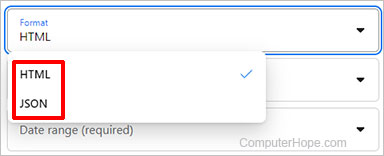
- Choose the format you want: JSON (JavaScript Object Notation) or HTML (HyperText Markup Language). HTML is easy to view, and JSON is easier for transferring data to another service.
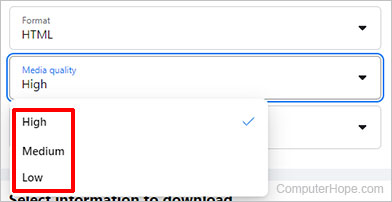
- Choose the media quality you want: High, Medium, or Low. Low takes less time to download, but won't look as good, whereas High is better for viewing, but takes longer to download.
Realize that the higher the quality, the larger the file size. If you have limited hard drive space, consider low quality.
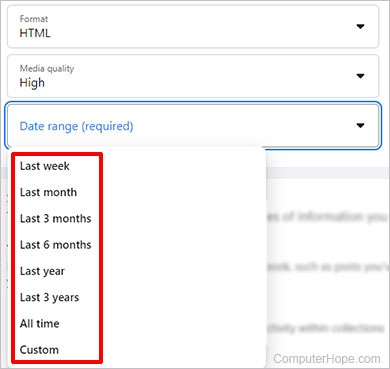
- Select a Date range from the drop-down menu.
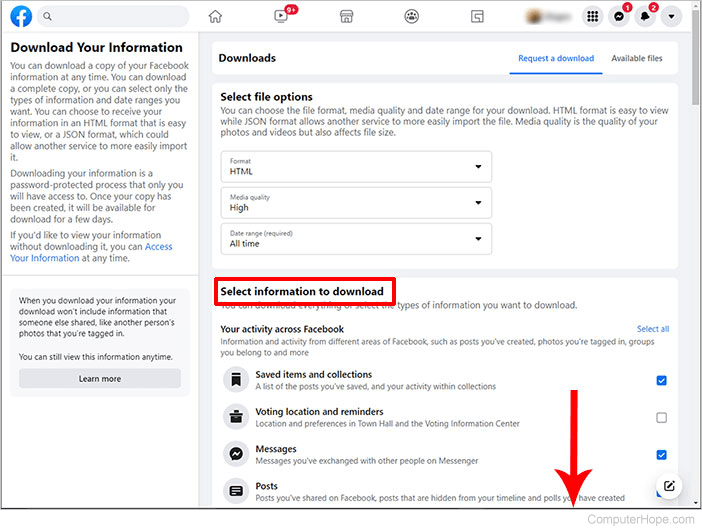
- Next, choose the items you want to save from the list provided under Select information to download. To unselect an item, click the checkmark so it disappears. To choose an item, click the check box to remove the checkmark.
Be sure to scroll down the page and review all items on the list. There might be information you don't want or need that takes up file space.
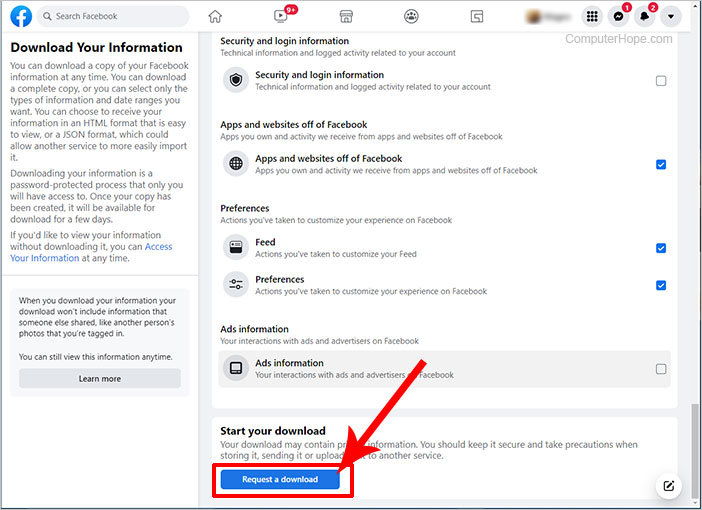
- Once you've selected all the options you want to download, click Request a download.
- The following message appears at the bottom of the screen.

- Once the process starts, it can take several hours to create everything that makes up your archive. You can check the status by clicking Available files at the top of the screen.

- Facebook sends you an e-mail informing you this information is being created. This e-mail specifies that you only have a few days to download the file once created and sent to you.
- Once the file is ready to be downloaded, you are sent an e-mail and notified on Facebook.
- Once you've received the e-mail, click the link in the e-mail to open the Download Your Information page. An example of the e-mail is shown below.
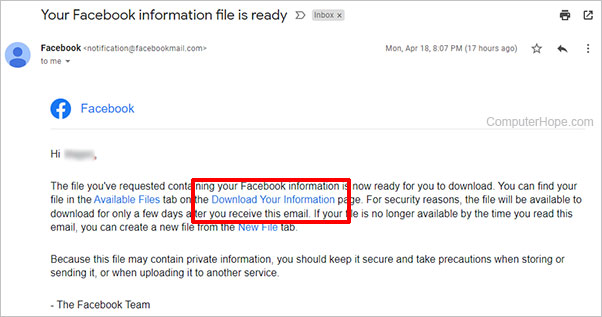
- After you click the link above, it takes you to the Downloads section in Facebook. Click Available files, then click Download.

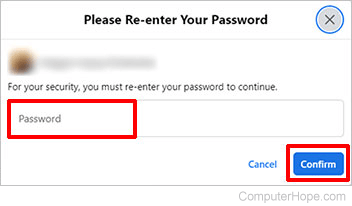
- Enter your Facebook account password again when prompted. Once the password is verified, click Confirm.
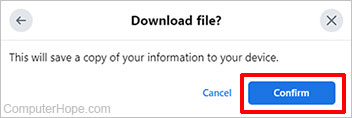
- At the download confirmation prompt, click Confirm.
- As the file is downloaded, it shows in the lower-left corner of your browser window.
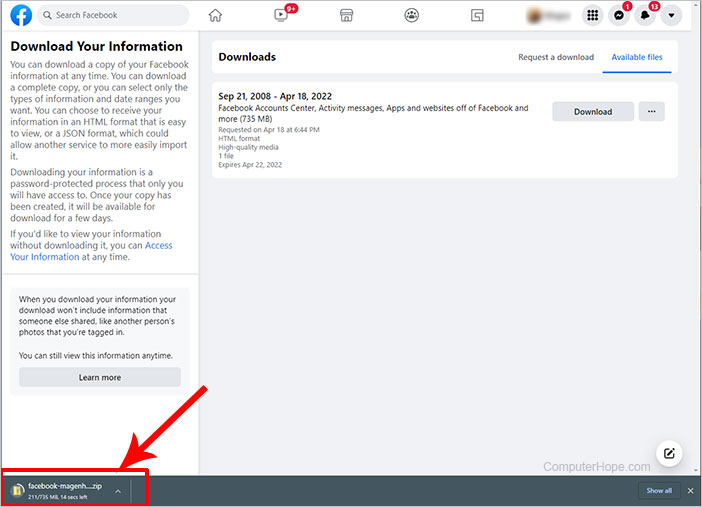
- Because the download may be several hundred megabytes, it can take a while to complete.
- Once complete, open your download location.
- The file is downloaded as a .zip file and should be named something similar to facebook-<yourname>.zip.
- Extract the files to your computer.
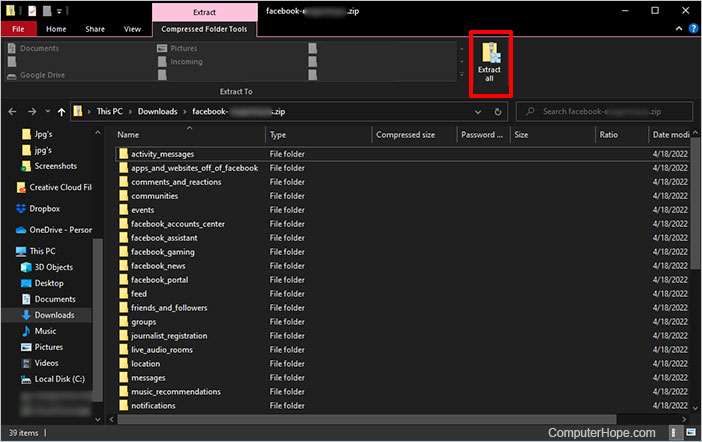
Once the files are extracted, there should be several folders (depending on the options you chose from above) and an index.htm HTML file. Open the index.htm file in your browser to start browsing your Facebook information, or open one of the folders to browse individual files.
