How to add a new user account on a Mac

Having additional accounts on your Mac is helpful for several reasons. For example, you may want to set up parental restrictions for your children or protect the primary account's sensitive information. Also, separate accounts allow different users to customize features such as selecting a specific background, screensaver, or theme.
The steps for creating a new user depend on the age of the device and whether or not its OS (Operating System) was upgraded (updated). To proceed, select your version of macOS from the list below and follow the instructions.
You must be logged in with an administrator account to create new accounts.
macOS Ventura and Sonoma
Here is how to create new accounts in macOS versions 13 and 14.
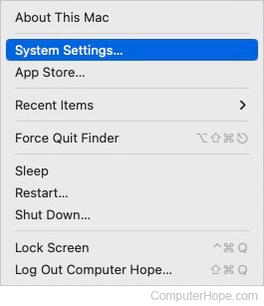
- At the top-left corner of the desktop screen, click the Apple icon.
- Select System Settings from the Apple menu.
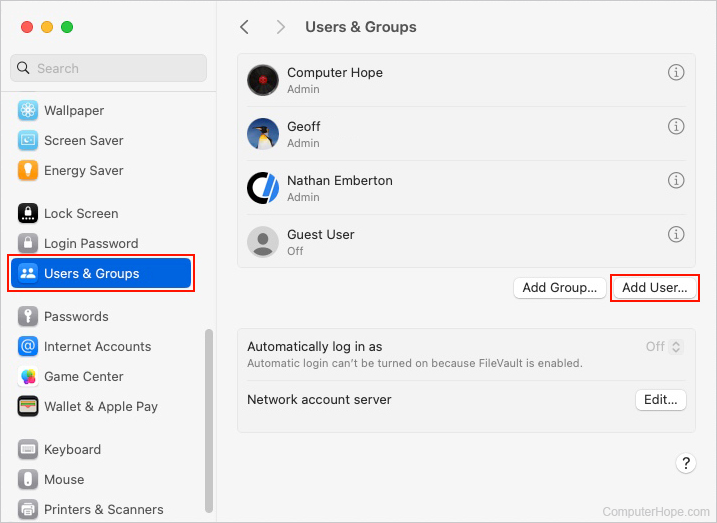
- In the left section, scroll down and click the Users & Groups selector. Then, in the section on the right, click the Add User button.
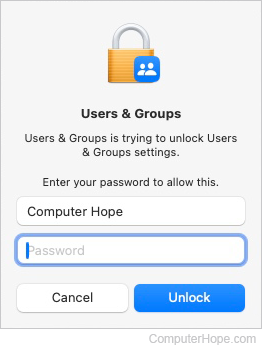
- Type the current account's password.
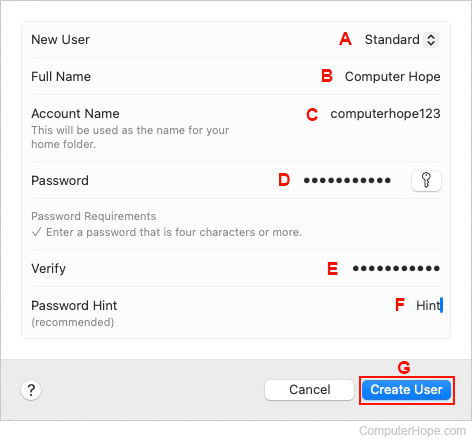
- Under New User, choose the account type (A).
- Under Full Name, enter a name for the account (B).
- Under Account Name, enter a username (C) for the account.
- Type a password for the account (D), and then Verify it (E).
- Enter a Password Hint (F).
- When done, click the Create User button (G).
macOS High Sierra, Mojave, Catalina, Big Sur, and Monterey
Here are instructions if you're using macOS versions 10 through 12.
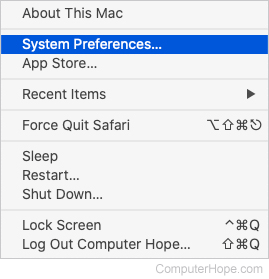
- At the top-left corner of the desktop screen, click the Apple icon.
- Select System Preferences from the Apple menu.
- In the new window, click the Users & Groups icon.
![]()
- Click the lock symbol in the lower-left corner of the Users & Groups window.
![]()
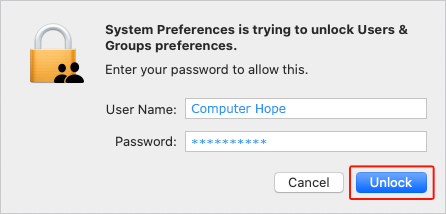
- When prompted, enter your password and click the Unlock button.
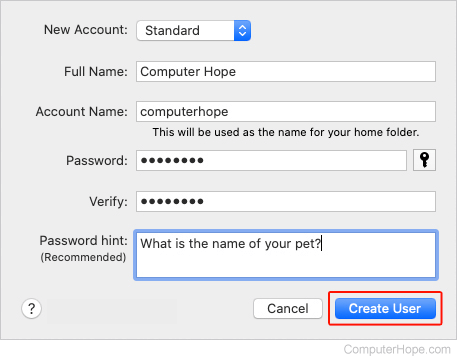
- On the left side of the window, under the list of accounts, click the + symbol under Login Options.

- Fill out the new account's information and click the Create User button.
- You should now see the new account on the left side of the Users & Groups window.
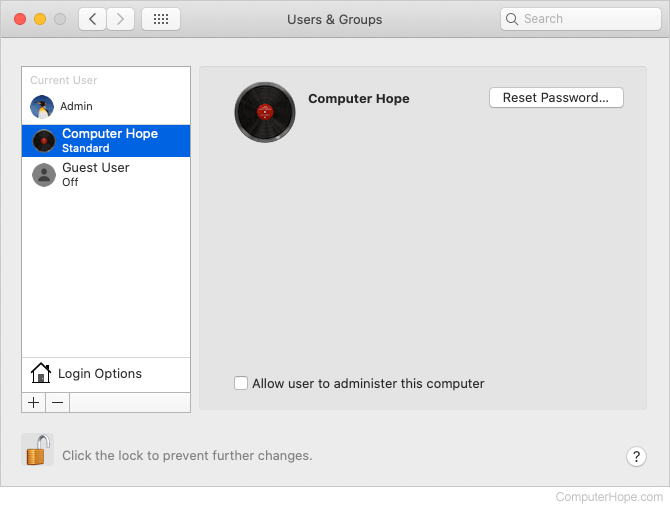
If desired, check the box next to Allow user to administer this computer to give the new user administrator rights.
